→ It happens without warning. You go to open a folder and it’s empty. Or your hard drive makes a clicking sound it never made before. Or you accidentally hit Delete and watched something important disappear into the void.
That sick feeling in your stomach? Completely understandable. But here’s the thing most people don’t know — deleting a file doesn’t actually erase it right away. Not on most storage devices. The data is still sitting there, just marked as available space. Until something new overwrites it, recovery is possible. 🙂
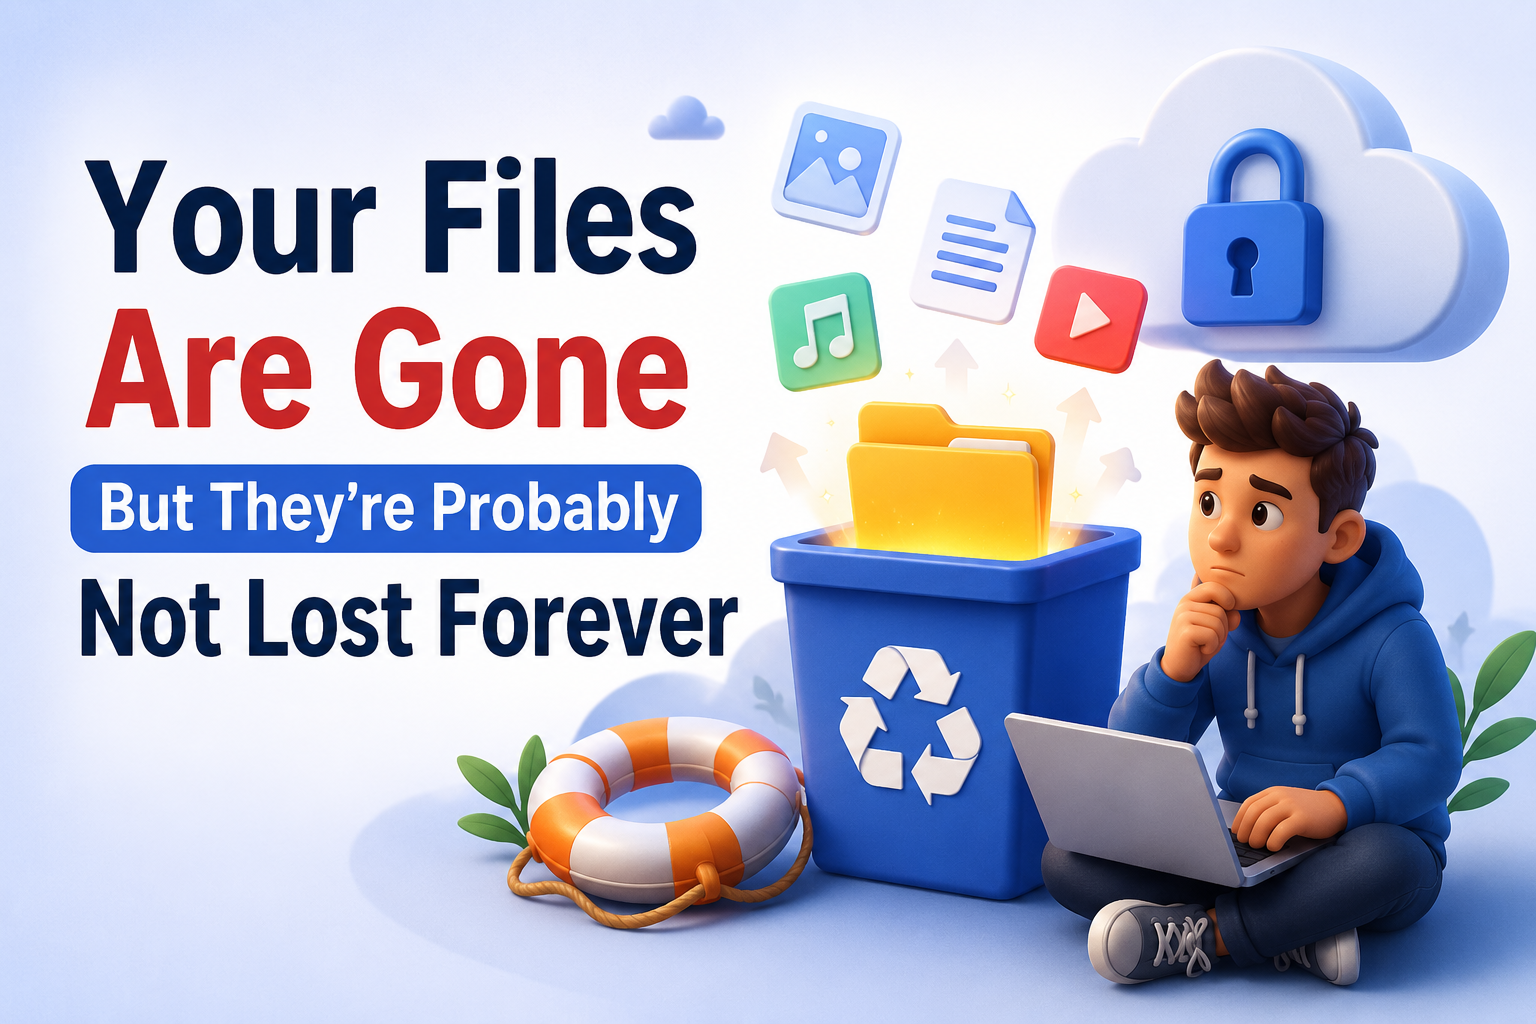
→ This guide walks through how storage actually works, why data gets lost, and exactly what to do when it happens to you.—
How Storage Really Works (Simple Version)
→ Think of your hard drive or SSD like a massive filing cabinet. When you save a file, the system writes it to a physical location and records that address in an index called the file table — like a library catalog that says “this book is on shelf 4, row 2.”
When you delete something, the system doesn’t shred the document. It just removes the catalog entry. The file itself stays right where it was, quietly waiting to be overwritten. 🙂 That’s why fast action after accidental deletion dramatically improves recovery chances.
→ HDDs (hard disk drives) store data on spinning magnetic platters. SSDs (solid state drives) use flash memory chips — faster, but with a complication called TRIM that can make recovery harder. USB drives and SD cards work similarly to SSDs.
Knowing your storage type matters because recovery approaches differ. What works on an HDD doesn’t always work the same way on an SSD.—
The Most Common Reasons Data Disappears
→ Before jumping to solutions, figure out what actually happened. The cause determines the fix.
Accidental Deletion
→ The most common scenario. Someone pressed Delete, emptied the Recycle Bin without thinking, or formatted the wrong drive. Highly recoverable if you act quickly and stop writing new data to the device. 🙂
Drive Failure
→ Hard drives are mechanical devices with moving parts. They fail. Signs include clicking or grinding sounds, the drive not showing up in File Explorer, extremely slow response, and frequent freezing. SSDs fail too — usually silently, which is actually more alarming.
File System Corruption
→ This happens when the drive’s index gets damaged — from power outages mid-write, improper ejection of USB drives, malware, or OS crashes. The files themselves may be completely intact. Only the map pointing to them is broken.
Partition Issues
→ Sometimes a drive partition becomes RAW — meaning Windows or Mac can’t recognize its format anymore. The drive shows up but says it needs to be formatted. Don’t format it. The data is still there. 🙂
Physical Damage
→ Water damage, drops, power surges, fire. Physical damage is the hardest category — and the most expensive to recover from. If a drive has been physically damaged, professional cleanroom recovery is the only real option.—
Step-by-Step: What To Do Right Now
Step 1 — Stop Using the Drive Immediately
→ This is the most important thing in this entire guide. Every second you continue using a drive after data loss, new files are potentially overwriting the ones you need. Close programs. Don’t save anything new. If it’s your system drive, shut down and boot from a different device if possible. 🙂
Step 2 — Check the Recycle Bin First
→ Obvious but often skipped in panic. Open your Recycle Bin, search for the file name, right-click, and Restore. Done. Many “data loss” situations end right here.
Step 3 — Check Cloud Backups and Version History
→ If you use OneDrive, Google Drive, Dropbox, or iCloud — check your cloud storage and trash folder before anything else. Many of these services keep deleted files for 30 days. Google Drive keeps them 30 days. Dropbox goes up to 180 days on paid plans. 🙂
→ Windows also has Previous Versions — right-click a folder, select Properties, then the Previous Versions tab. If System Restore was enabled, older copies of your files may be sitting right there.
Step 4 — Use Recovery Software for Logical Issues
→ For accidental deletion, formatted drives, and file system corruption — recovery software is your next move. A few genuinely reliable options:
→ Recuva (Windows, free) — made by Piriform, same folks behind CCleaner. Simple interface, surprisingly powerful for the price. Good starting point for most people. 🙂
→ TestDisk and PhotoRec (free, cross-platform) — open-source tools that are more technical but extremely capable. TestDisk repairs partition tables and boot sectors. PhotoRec recovers files by type even from severely damaged drives. The names are misleading — PhotoRec recovers far more than photos.
→ Disk Drill (Windows and Mac, freemium) — cleaner interface than TestDisk, recovers up to 500MB free. Good for non-technical users who want something visual.
→ R-Studio (paid) — professional-grade recovery software used by IT departments and data recovery services. Worth it for serious situations.
→ Install recovery software on a different drive than the one you’re recovering from. Running it on the same drive risks overwriting the files you’re trying to get back. 🙂
Step 5 — For Physical Drive Failure
→ If the drive is making unusual noises or not being detected at all, don’t attempt software recovery. You could make permanent damage worse. Professional data recovery services like DriveSavers or Ontrack have cleanroom facilities where drives can be opened and repaired under controlled conditions. It’s expensive — often $300 to $1,500 depending on severity — but it’s the only legitimate path for mechanically damaged drives.—
Common Mistakes That Make Things Worse
→ A few things people do with good intentions that actually reduce recovery chances:
→ Running CHKDSK on a failing drive — Windows suggests this automatically sometimes. On a healthy drive it’s fine. On a drive already experiencing issues, CHKDSK can overwrite recoverable data trying to “fix” the file system. Skip it until you’ve recovered your files. 🙂
→ Formatting the drive to fix it — when Windows says a drive needs formatting, the instinct is to just do it. Don’t. Format wipes the file table. Recovery becomes significantly harder.
→ Saving recovered files back to the same drive — always save recovered files to a separate, healthy drive or external storage. Saving back to the source overwrites other potentially recoverable data.
→ Freezing the drive — a persistent myth that putting a failing drive in a freezer revives it. This was partially true with very old drives decades ago. On modern drives, thermal shock from freezing causes condensation that creates new problems. Don’t do this. 🙂—
Troubleshooting Specific Situations
Drive Shows as RAW
→ Open TestDisk, select the drive, run Analyze, then Quick Search. In many cases TestDisk finds the original partition and you can write it back in minutes. Files intact, problem solved. 🙂
Drive Not Detected by Computer
→ Try a different USB port or cable first — genuinely, a bad cable causes more “drive failures” than actual drive failures. Try the drive on a different computer. Check Disk Management (Windows) or Disk Utility (Mac) to see if the drive shows up there even if it doesn’t appear in file explorer.
SSD Data Recovery
→ SSDs with TRIM enabled (which is most modern SSDs) begin erasing deleted data blocks in the background for performance reasons. This makes recovery significantly harder and sometimes impossible. Speed matters even more with SSDs — act fast, and consider professional recovery if the data is critical.
Formatted SD Card or USB Drive
→ PhotoRec handles this well. Select the device, choose your file types, select a recovery destination on a different drive, and let it run. Recovery of photos, documents, and videos from formatted flash storage is one of the more reliable scenarios. 🙂—
Expert Recommendations
→ Data recovery is reactive. The goal is to never need it. A few practices that genuinely protect you:
→ Follow the 3-2-1 backup rule — 3 copies of your data, on 2 different media types, with 1 stored offsite (or in the cloud). Sounds excessive until the day it isn’t.
→ Use cloud sync for important documents — OneDrive, Google Drive, and iCloud run in the background and version your files automatically. It’s not a full backup solution but it catches accidental deletions in most cases. 🙂
→ Check your backups occasionally — backup systems fail silently. Run a test restore every few months to confirm your backups actually work.
→ Replace drives proactively — hard drives have an average lifespan of 3–5 years under normal use. SSDs typically last longer but aren’t immortal. If a drive is old, move the data before it decides to fail on its own schedule.
→ Eject drives properly — “safely remove hardware” exists for a reason. Pulling a USB drive while data is being written corrupts file systems. The extra two seconds is worth it. 🙂—
FAQ
Can I recover files from a drive that’s been formatted?
→ Often yes, especially with a quick format. Quick format only removes the file table — the data underneath is usually intact. Deep/full format is harder to recover from but sometimes still possible with professional tools.
How long does data recovery software take to run?
→ Depends on drive size and condition. A 1TB drive can take anywhere from 30 minutes to several hours. Let it run completely — stopping early reduces results. 🙂
Is free recovery software as good as paid?
→ For straightforward situations, Recuva and TestDisk handle most cases well. Paid software like R-Studio adds more advanced reconstruction and better handling of severely damaged file systems. For critical data on a severely compromised drive, paid or professional services are worth considering.
Can encrypted drives be recovered?
→ Only if you have the encryption key or password. Recovering encrypted data without the key is not practically possible — that’s the point of encryption. Keep your encryption keys backed up separately from the drive itself. 🙂
Should I try recovery myself or go straight to a professional?
→ Try DIY software first for logical failures (accidental deletion, corruption, formatting). For clicking, grinding, or physically damaged drives — go straight to a professional. Attempting software recovery on a mechanically failing drive can cause permanent damage to platters and make professional recovery impossible.—
Final Thoughts
→ Losing data is stressful. The instinct is to panic and start clicking everything. Resist that. Stop using the drive, assess what happened, then work through the steps methodically.
→ Most data loss situations — especially accidental deletions and logical corruption — are recoverable if you act quickly and don’t compound the problem. The cases that end in permanent loss are usually the ones where someone kept using a failing drive for weeks, or formatted over the data trying to fix things. 🙂
→ And once you’ve gotten your files back? Set up a backup system. Because the only thing worse than losing data once is losing it twice.
→ For additional technical information and software support, readers should refer to the official manufacturer or software developer website.