—> It started with a sound.
A soft clicking. Maybe a grinding. Or maybe there was no warning at all — you just tried to open your laptop one morning and the drive simply wasn’t there anymore. Windows couldn’t find it. The files were gone. Years of photos, documents, work projects, memories — just… absent.
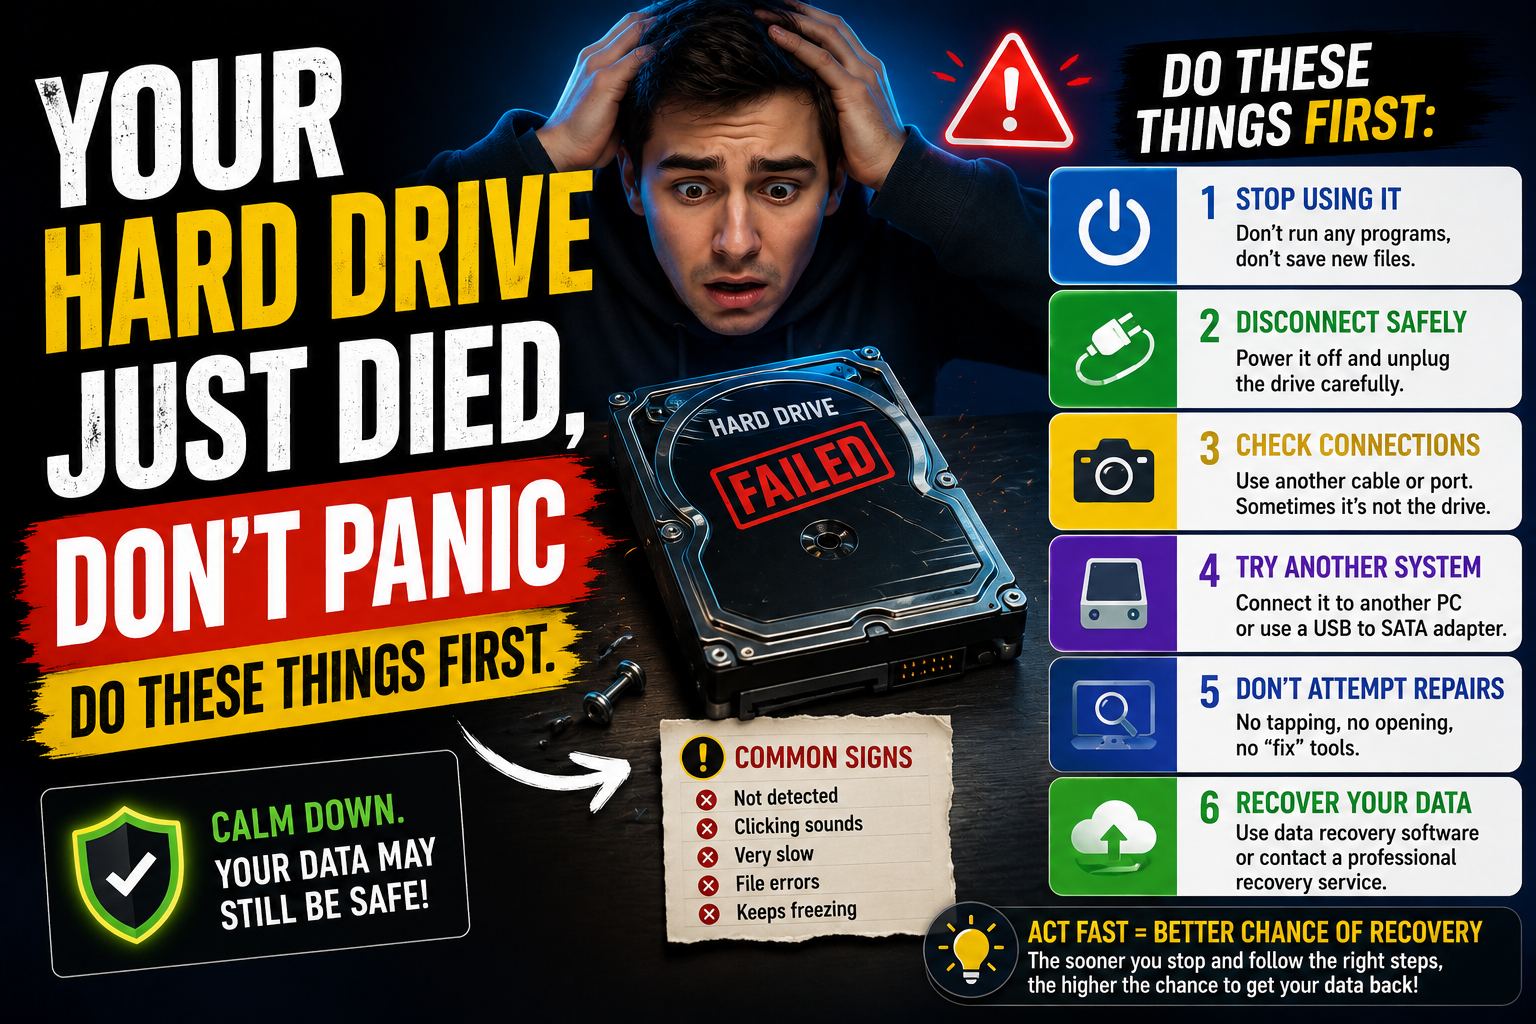
→ That moment of realization is one of the worst feelings in modern daily life. And the worst part? Most people immediately do the exact wrong things trying to fix it — making recovery harder or sometimes impossible. 🙂
→ This guide is written for the person sitting in that moment right now. Or for the person who wants to never sit in that moment. Either way — read it carefully. The order of what you do next matters enormously.—
First Five Minutes — What You Do Right Now Decides Everything 🙂
→ Stop using the drive. Completely. This is the single most important sentence in this article.
When a file gets deleted or a drive fails logically, the data doesn’t vanish instantly. The operating system just marks that space as available for new data. Until something writes over those sectors — the original files are sitting there, waiting. Every new file you save, every program you open, every browser cache that updates is potentially overwriting something you’re trying to recover.
→ So close everything. If it’s your main system drive, shut the computer down. Don’t run a virus scan. Don’t try to copy files. Don’t install recovery software on that same drive. Just stop. 🙂
→ Take a breath. The panic you’re feeling right now makes people rush into bad decisions. Most data loss situations — maybe 80% of them — are actually recoverable with the right approach. Physical damage is harder. But logical failures, accidental deletions, corrupted partitions, accidental formats — these are solvable problems more often than not.—
What Type of Failure Are You Dealing With?
→ Not all drive failures are the same. The diagnosis changes everything about what to do next.
The Clicking or Grinding Drive 🙂
→ This sound has a name in data recovery circles — the Click of Death. It means the read/write heads inside the hard drive are failing. They’re either misaligned, damaged, or hitting the platters. 🙂
→ If your drive is making mechanical noises it never made before — clicking, grinding, scraping, buzzing — stop immediately. Software cannot fix this. Continuing to power on a mechanically damaged drive causes the heads to score the platters, destroying data permanently that could have been recovered.
→ In this case: power it off, put it in a static-proof bag or wrap it carefully, and contact a professional data recovery service. Yes it costs money. But it’s the only path that doesn’t make things worse.
Drive Not Detected At All 🙂
→ Before assuming internal failure — check the simple stuff first. Try a different USB cable if it’s external. Try a different USB port. Try it on a different computer entirely. A dead cable causes more ‘drive failures’ than actual dead drives. It’s embarrassing how often this is the fix. 🙂
→ If it still won’t show up anywhere — open Disk Management on Windows (right-click Start → Disk Management) or Disk Utility on Mac. Sometimes a drive shows up in these tools even when it doesn’t appear in File Explorer. If it appears here as Unallocated or Unknown — that’s actually good news. Data is likely intact. The partition table is just damaged.
Drive Shows Up But Files Are Gone 🙂
→ This is the most common scenario and the most recoverable. The drive is healthy. The files were deleted, the drive was formatted, or the file system got corrupted. The data is almost certainly still physically present on the drive. 🙂
Drive Shows as RAW Format 🙂
→ You plug in a drive and Windows says ‘You need to format this disk before you can use it.’ Do not format it. The RAW status means Windows can’t read the file system — but the files themselves are probably fine underneath. This is fixable without formatting and without losing data.—
The Recovery Software That Actually Works
→ For logical failures — deleted files, formatted drives, corrupted file systems, RAW partitions — software recovery is your starting point. Here’s what’s genuinely worth using in 2026.
Recuva — Best Free Starting Point 🙂
→ Made by Piriform (same company behind CCleaner). Free, simple interface, surprisingly capable for everyday recovery situations. Download it, install it on a different drive than the one you’re recovering, scan the affected drive. It shows you what it found and lets you restore files to a safe location. 🙂
→ Run the Deep Scan option — it takes longer but finds files that the quick scan misses. Worth the extra time.
TestDisk — For Partition and File System Repair 🙂
→ TestDisk is free, open-source, and handles things Recuva can’t. Specifically — it repairs damaged partition tables, recovers lost partitions, and fixes drives showing as RAW. It looks intimidating because it’s command-line based but the process is actually straightforward. 🙂
→ Open TestDisk. Select your drive. Choose the partition table type (usually Intel for Windows drives). Run Analyse → Quick Search. In most cases it finds your original partition right there. Write the partition back. Reboot. Files appear like nothing happened.
→ Real example: A teacher in Florida accidentally formatted her 1TB external drive containing six years of lesson plans and classroom photos. TestDisk found the original partition in under two minutes. Everything recovered. Zero data loss. Total cost — nothing except an hour of her Sunday afternoon. 🙂
PhotoRec — Deep File Recovery by Type 🙂
→ Despite the name, PhotoRec recovers far more than photos. Documents, videos, spreadsheets, PDFs, emails — it works by scanning raw drive sectors for file signatures rather than relying on the file system index. This means it works even when the file system is completely destroyed.
→ The downside: it doesn’t recover original file names or folder structure. You get your files back but in numbered folders. For truly important files this tradeoff is completely acceptable. 🙂
Disk Drill — Best for Non-Technical Users 🙂
→ Cleaner interface than TestDisk. Recovers up to 500MB free on Windows. Good preview feature lets you verify a file is actually intact before recovering it. Worth using if command-line tools feel overwhelming.
R-Studio — When You Need the Serious Option 🙂
→ Paid software, professional grade. IT departments and data recovery businesses use it. Handles severely corrupted drives, RAID recovery, and advanced file system reconstruction. If free tools find nothing on a drive you know had data — R-Studio often finds more. 🙂—
Step-by-Step: Recovering a Deleted or Formatted Drive
→ Here’s the actual process laid out cleanly.
→ Step 1 — Stop using the affected drive immediately. Do not save anything to it.
→ Step 2 — Get a second drive to work with. This is where recovered files will go and where recovery software will be installed. An external hard drive or USB drive with enough space works fine. 🙂
→ Step 3 — Download Recuva or Disk Drill on your working computer. Install it there, not on the problem drive.
→ Step 4 — Connect the problem drive. Run a deep scan. Let it finish completely — don’t interrupt halfway through.
→ Step 5 — Review what the software found. Most tools show a health indicator — green means likely intact, red means possibly overwritten. Prioritize the green files. 🙂
→ Step 6 — Recover files to your second drive. Never back to the original problem drive.
→ Step 7 — Verify the recovered files open correctly before considering the job done.
→ If Recuva finds nothing useful — move to TestDisk for partition recovery, then PhotoRec for raw file extraction. Most situations resolve at one of these three stages. 🙂—
When Software Can’t Help — Professional Recovery
→ Some situations genuinely require professional intervention.
→ Clicking, grinding, or scraping sounds from the drive. Drive not detected by any computer or in Disk Management. Drive was physically dropped, wet, burned, or exposed to power surge. SSD that died suddenly with no warning.
→ Professional data recovery services like DriveSavers, Ontrack, and Secure Data Recovery have cleanroom facilities — controlled environments where drives can be safely opened and repaired at the hardware level. 🙂
→ Cost ranges from $300 to $1,500 depending on damage severity. That sounds expensive until you weigh it against what the data represents — years of family photos, a business’s client records, a dissertation nearly finished.
→ One important thing: get a diagnosis quote before committing. Reputable services give free evaluations. If a company can’t tell you what’s wrong before charging you — find a different one. 🙂—
SSD Recovery — Why It’s Different
→ SSDs are fast, quiet, and increasingly common. They’re also harder to recover from than traditional hard drives — and most people don’t know this.
→ The reason is TRIM. Modern SSDs use a process called TRIM that actively erases deleted data blocks in the background to maintain performance. On a traditional hard drive, deleted data sits intact until overwritten. On an SSD with TRIM enabled, deleted files can be gone within minutes — permanently. 🙂
→ This means with SSDs, speed of response matters even more. The window between deletion and unrecoverability is dramatically shorter.
→ If you’re dealing with an SSD that died entirely rather than deleted files — professional recovery is often the only option. SSDs fail differently than HDDs. There’s no clicking. No warning. They just stop. Data recovery from a failed SSD is complex, expensive, and not always successful. The backup habits covered at the end of this article matter even more for SSD users. 🙂—
Common Mistakes That Kill Recovery Chances
→ Running CHKDSK on a failing drive — Windows often suggests this automatically. On a healthy drive it’s fine. On a drive already in trouble, CHKDSK can overwrite recoverable sectors trying to ‘repair’ things. Run it only after you’ve already recovered your files.
→ Formatting the drive to fix errors — when Windows says a drive needs formatting, people often just do it. That wipes the file table and makes recovery significantly harder. Don’t format until you’ve tried everything else. 🙂
→ Saving recovered files back to the same drive — always recover to a different drive. Saving back to the source overwrites other data that might still be recoverable.
→ Putting the drive in the freezer — an old myth that causes real damage on modern drives. The thermal shock creates condensation inside the drive. Don’t do this. 🙂
→ Continuing to use a clicking drive — hoping it gets better. It won’t. Every power-on cycle on a mechanically failing drive risks further platter damage. The window for professional recovery closes with each attempt.—
The Backup System That Prevents All of This
→ Everything above is reactive. This part is how you never need it again.
→ The 3-2-1 rule is the gold standard in data protection. Three copies of your data. Two on different storage types. One stored offsite or in the cloud. It sounds like overkill until the day your drive fails and your external backup was sitting right next to it when the power surge hit both of them. 🙂
→ In practical terms for most people — an automatic cloud backup (Google Drive, iCloud, OneDrive, or Backblaze) running in the background plus a monthly backup to an external drive covers almost every scenario.
→ Backblaze specifically is worth mentioning — $99 a year, backs up your entire computer continuously in the background, keeps versions for a year. For the price of a dinner out per month it covers you against virtually every data loss scenario short of the company itself disappearing. 🙂
→ Test your backups. This part people skip. Set a reminder every three months to actually restore a file from your backup. Backup systems fail silently. A backup you’ve never tested is a backup you don’t actually have.—
FAQ 🙂
Can I recover data from a water-damaged drive?
→ Sometimes yes — but don’t try to power it on. Water conducts electricity and powering a wet drive short-circuits it. Let it dry completely or better, take it directly to a professional data recovery service. Cleanroom recovery of water-damaged drives has a reasonable success rate when the drive was never powered on after exposure.
How long does data stay recoverable after deletion?
→ On HDDs — potentially indefinitely until overwritten. On SSDs with TRIM — potentially minutes. The difference is significant. Act immediately on SSDs. On HDDs you have more time but don’t waste it.
Is it safe to use free recovery software?
→ Recuva, TestDisk, and PhotoRec are all reputable, widely used tools. Download them from official sources only — piriform.com for Recuva, cgsecurity.org for TestDisk/PhotoRec. Avoid downloading recovery software from random websites offering ‘free download’ — some of these bundle malware. 🙂
My drive shows up but is extremely slow to respond — what does that mean?
→ Slow response combined with unusual sounds often indicates a drive in the early stages of mechanical failure. This is actually a gift — you have a window to back up your data before it fails completely. Stop using it for anything except copying your important files to another drive immediately.
Can a phone’s internal storage be recovered the same way?
→ Phone recovery is more complex — internal storage is soldered to the motherboard and not directly accessible like a removable drive. Apps like DiskDigger can sometimes recover deleted photos on Android. For serious phone data recovery, specialist mobile recovery services exist but they’re expensive. The best approach for phones is prevention — regular iCloud or Google Photos backup. 🙂—
Final Thoughts
→ Drive failures feel catastrophic in the moment. The good news is that catastrophic is rarely permanent — at least not if you respond correctly in the first few minutes.
→ Stop using the drive. Diagnose what kind of failure you’re dealing with. Match the right tool to the right problem. Recover to a separate drive. Verify the files. Then — and this is the part most people skip after the relief of getting their data back — set up a backup system so this story doesn’t repeat itself six months from now. 🙂
→ Data loss is almost always a solvable problem. It just requires calm, the right information, and doing things in the right order.
→ You have all three now.
→ For additional technical information and software support, readers should refer to the official manufacturer or software developer website.